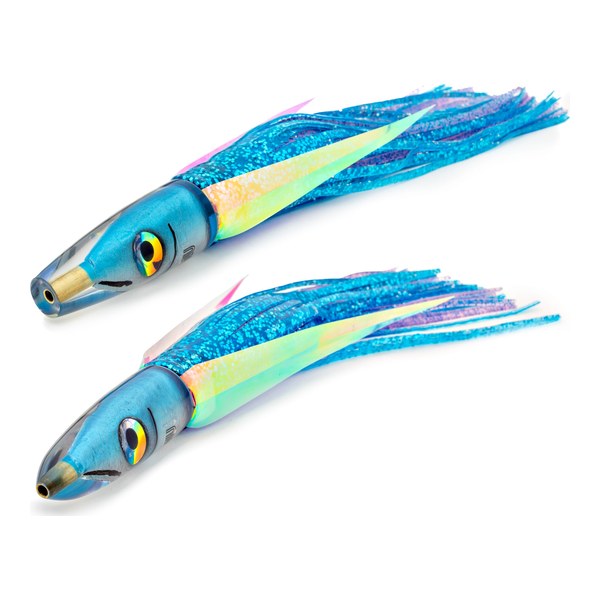
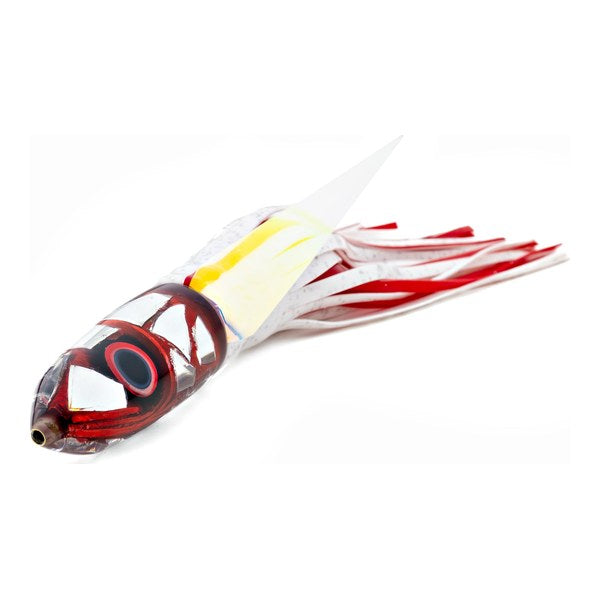
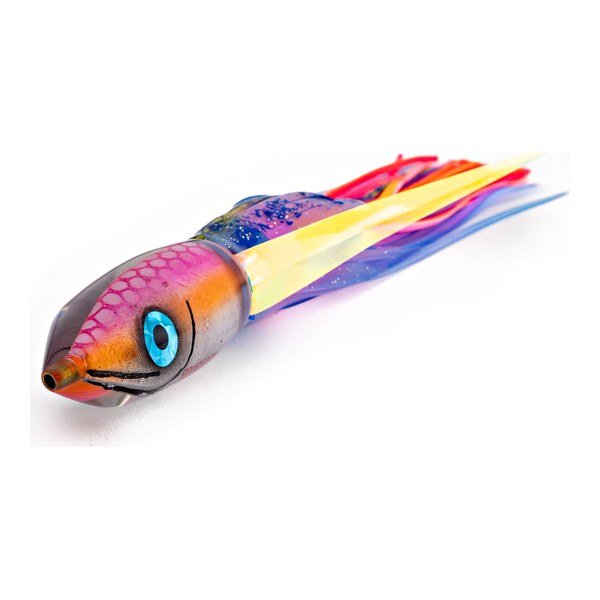
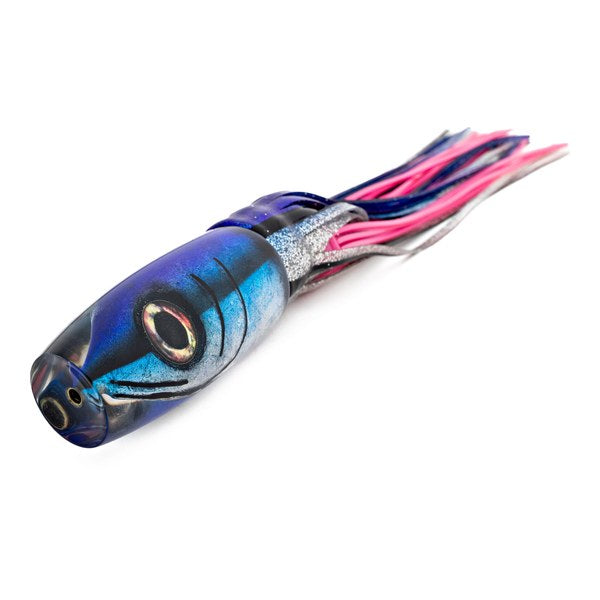
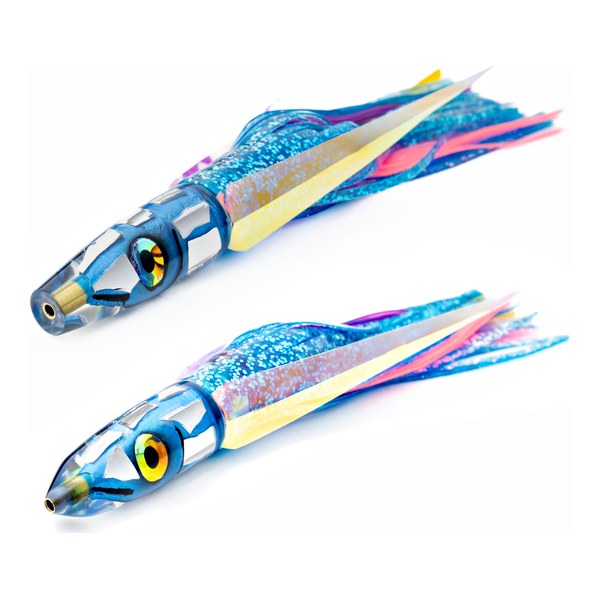
A wing gives the lure more visual profile in the water and changes the way it moves. Think of a flying fish, with that wide flat silhouette as it travels across the surface. That is what we are trying to replicate. The wing catches the water differently than the skirts alone, and on a clear day especially, that extra movement and flash can make the difference between a strike and a pass.
The other thing worth knowing: wings get bit. When you come in and find a lure hit, sometimes what got chopped first was the wing. When that happens I just replace it and get back out. It is not a disaster. It is just how trolling lures work in real fishing.
Wings are made from a foil material. It is two-sided, with a shiny face and a duller face. That is the only material. For tying, I use wax line, and I prefer a smaller-diameter wax line because it cinches into the notch on the lure head more cleanly. When the wing is sitting right, you should not see the knot after you flip it down.
This is where most people guess. I do not guess. Here are the exact dimensions I cut for every lure size we run:
| Lure size | Wing length | Wing width |
|---|---|---|
| 12 inch | 6 inches | ~1 inch |
| 9 inch | 6 inches | ~1 inch |
| 7 inch | 6 inches | ~1 inch |
| 5.5 inch | 5 inches | ~1 inch |
| 5 inch | 5 inches | ~1 inch |
Width is not a fixed measurement I take off a ruler. I hold the wing material next to the lure head and match it to the head width. On most of our heads, that works out to right about 1 inch. I put the material at an angle to get the tapered wing shape, then mark and cut.
Here is the cutting and sizing on video, from our channel:
This is the step most people skip, and it is the important one. After cutting the wing to size, I fold it in half lengthwise so I have a center fold running the length of the wing. Then I make a small angled cut at each tip, cutting both sides of the folded wing to create a notch at the tip.
That notch is what lets the wing lay flat. Without it, when you fold the wing back after tying, there is too much material at the tip and it bunches up instead of lying down cleanly. The relief cut removes just enough so the wing can fold and lay right.
The fold line also does a second job: it gives me my center reference when I tie. I align that fold line just below the eye on the lure head, and as the line cinches in and sinks, it lands right where I want it.
Wings go on last, after the skirts are already tied. Here is the sequence I use:
When you get used to the sequence it goes fast. The key tension move is step 3: when you go around the notch you need to actually pull on the wing so the line cinches into that gap. That is what keeps the wing from rotating on the head.
Here is the whole tying sequence on video, so you can watch the hands:
Small detail, but always put the shiny side facing away from the lure. The dull side goes against the head. The shiny face is what picks up light and color in the water, and that is the side the fish sees.
I add wings to our skirted lures across the whole range we make, from the smaller 5 inch Aku Bones we run when there is a lot of skipjack around, up through the 9 inch Moke series and the big 12 inch Ante Inverts we run on the riggers when we are fishing heavy. The cut length changes by size, the method stays the same.
If you have questions about winging lures or anything else about rigging, feel free to reach out through the site. We are happy to help.
Comments will be approved before showing up.

Some of my best days started as busted ahi plans. Here is how I find and work floating rubbish in Hawaii, from hunting speed between piles to the six inch lures and Aku Bones that go in the water first when I break down.

I run a 9-inch spread during ahi season, but the 7-inch and 6-inch lures earn their spot in the box for everything else. Here is how I use each size, when I reach for the Ali’i heavy series in rough water, and why I pull them all out once that 3-month ahi window opens.

We sell or give away the best cuts of every ahi, and the fisherman keeps the rest. Here is how I smoke the head, why the meat around the eyes smells like crab, and how what is left turns into a really good head soup.

Join the Tsutomu crew for early drop alerts, fish reports, and tips from the water.
Drops sell out. Add your number and get a text on every drop and restock before Instagram or email finds out.
By providing your phone number, you agree to receive promotional and marketing messages, notifications, and customer service communications from Tsutomu Lures. Message and data rates may apply. Consent is not a condition of purchase. Message frequency varies. Text HELP for help. Text STOP to cancel. See terms, see Privacy Policy.
Here’s 15% off your first order. Tap the code to copy it, or shop now and it applies at checkout automatically.